

Technical difficulties have delayed today's scheduled launch of Greenjeans Online (even after we stayed up all night getting things ready. Now I know how NASA feels. Well, sort of...). So today instead I will share with you some pictures from the source.
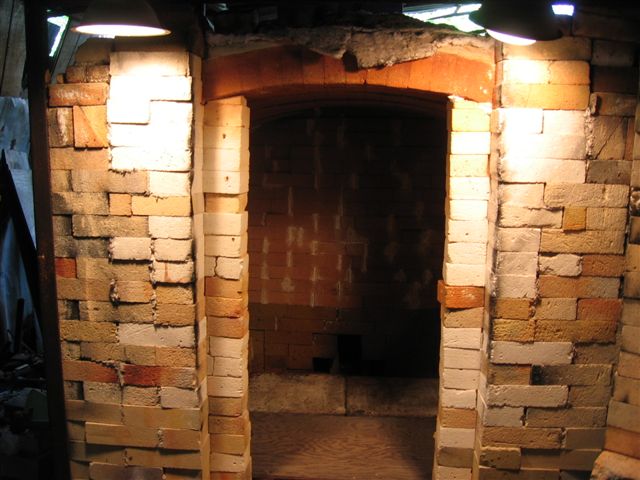
Potter John Zentner from Northwood, NH, (my hometown) recently undertook the long, laborious project of rebuilding his kiln. (That's the "after" picture above, all tight and spiffy.)
John started work on the project this summer, and fired for the first time in the rebuilt kiln last week. He took pictures documenting the project and wrote descriptions of what they show. Not being a potter myself, I learned a lot about kilns from John's emails. I share his story with you so you can learn too! (To learn more about kilns generally, click here.)
The potters who built this kiln 30 years ago, Jeff and Laurie Lalish, were parents of my good friend Tras. Growing up we were forbidden from going near the mysterious hulking kiln. The first time I ever saw it in person was when we visited John's studio last year... (Click here for an earlier post about John and his kiln.)
 The "before" picture. "Kilns need to be re-built because of age. This one was originally built 30 years ago and it was getting too 'relaxed.'. I was afraid to fire it again unless it was re-built. The arch was sagging and the back wall was bowing inward."
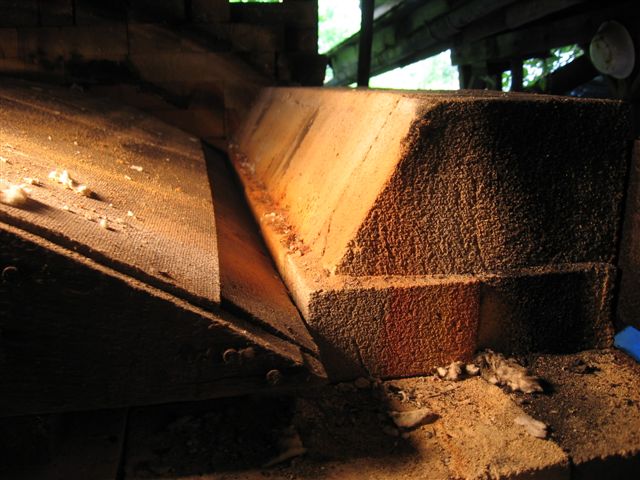 "These are the skew back bricks that hold and support the arch bricks. They will be re-used."
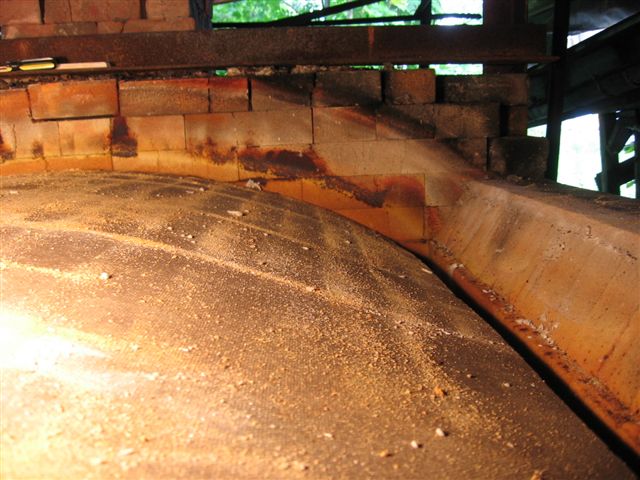 "The bricks that make up the arch (top) of the kiln have been removed. You can see the wooden arch support that is itself supported inside the kiln. It will also be used to put the new arch bricks in."
 "This is the old flue opening leading from the firing chamber into the chimney. You can see that it was settling and bowing inward."
 "Here all the insulating soft brick have been removed and these bricks are hard firebrick. Hard brick are used at the base of the kiln and to just above the burner ports for greater support."
 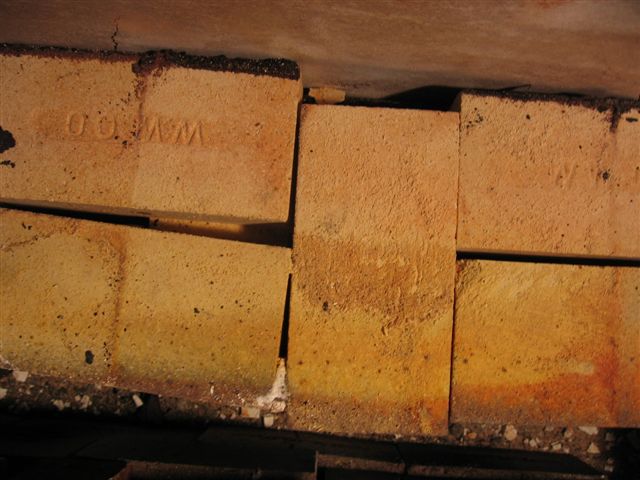 "In this top view of the wall, you can see how much the two layers of the wall have separated."
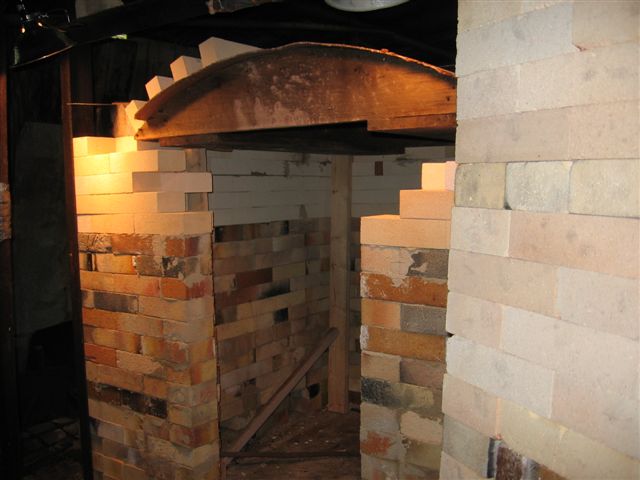 "The new walls are in place, the arch support put back in and the new arch has begun to be put in."
  "The new chimney with skin of insulating mortar and then finished with regular red brick and a flue liner mortared on top."
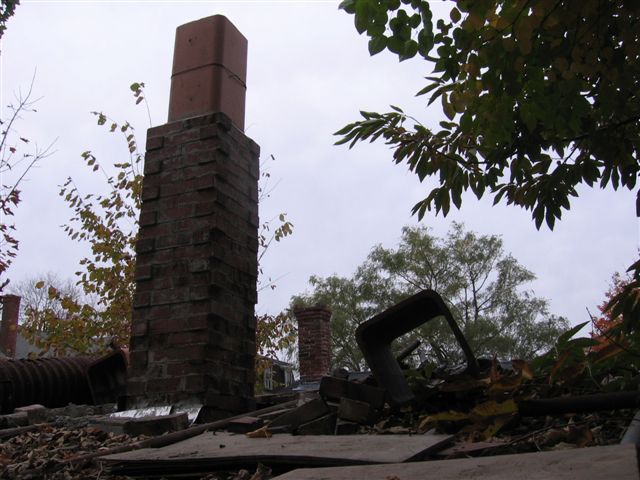 "I got to the point where I couldn't see inside the chimney to put any more brick on. I may take the flue liner off and finish with brick in the future."
 Rebuilt arch with insulating mortar in place.
::::::
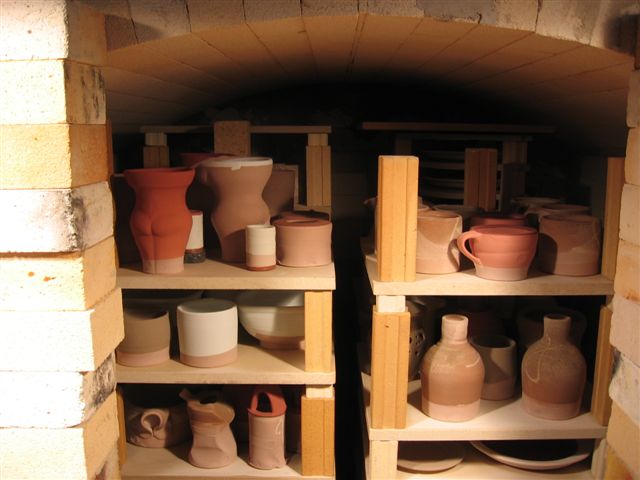 The kiln fully loaded for its first firing after the rebuild.
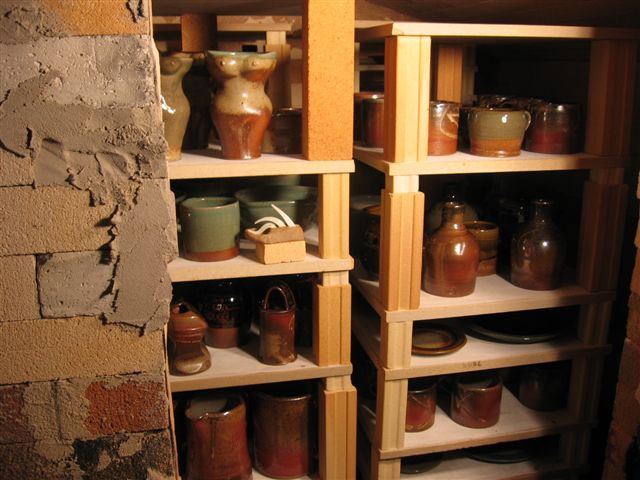 After the firing. "The first firing was very, very good. First firings of new kilns usually point to needed adjustments but this firing was great top to bottom!!!!"
::::
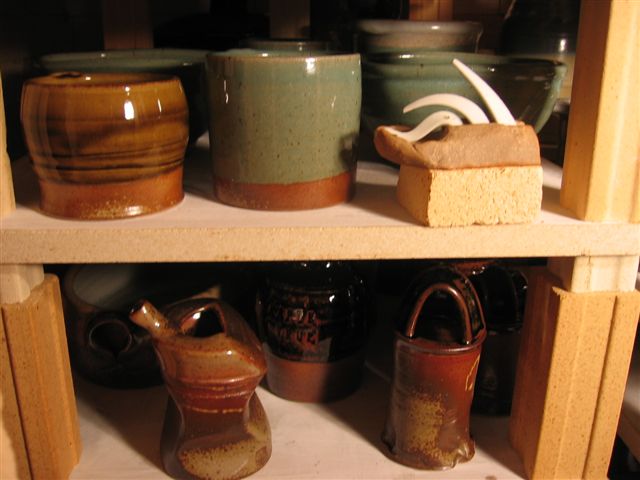
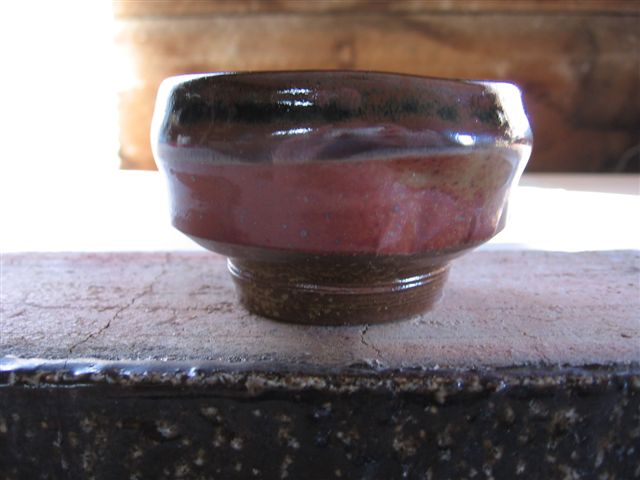
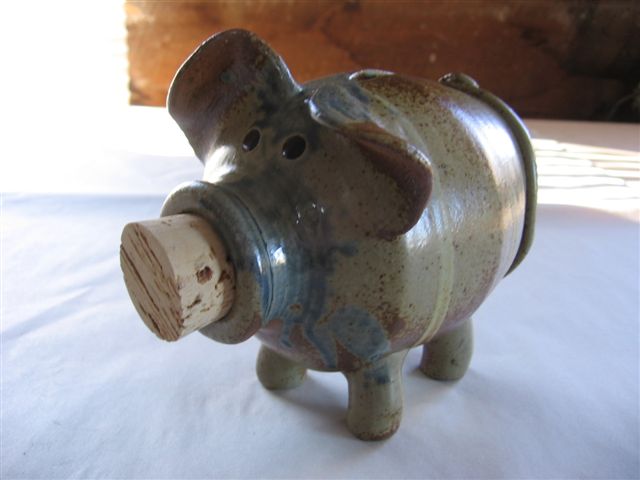
Some of the finished products:


Congratulations on completing this project, John! We're excited to see it in person when we come up later this month!


1 comment:
Beautiful pics of the proces. Thank you!
Post a Comment